Troubleshooting / opener faults
How to Align Garage Door Safety Sensors (Photo Eyes)
By Omar, Factory-Trained Technician· Updated 2026-03-04
Align garage door safety sensors by loosening each bracket wing nut, sliding the photo eyes so they point straight at each other, and tightening once both LEDs glow steady. Both lights must be solid at the same time, or the opener will refuse to close the door.
Why won’t my door close and the light blinks?
Your door will not close and the opener light blinks because the two safety sensors near the floor cannot see each other. The opener flashes the work light or the up arrow as a code, then refuses to lower the door it cannot prove is clear. This is the single most common closing fault.
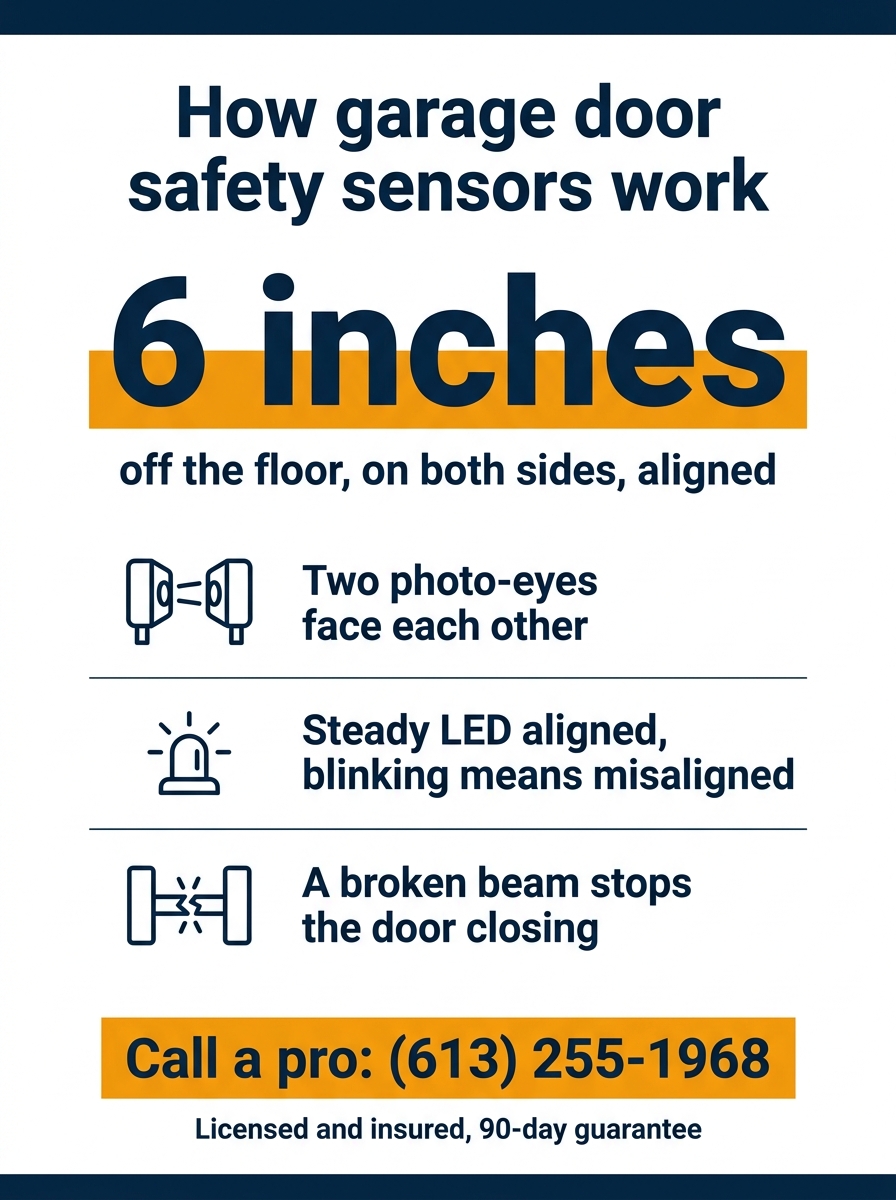
Every garage door opener built since 1993 has two photo-eye sensors, one on each side of the opening about six inches off the floor. They shine an invisible infrared beam across the door. When anything breaks that beam, or when the sensors stop pointing at each other, the opener treats it the same as a child standing in the doorway and reverses or refuses to close. A drooped bracket, a stray box, a spider web, or a smear of dirt on the lens all trigger the same fault. For the full list of reasons a door stalls on the way down, see our guide on why a garage door won’t close. This is also the most common entry in our opener blink code reference.
How to align the photo-eye sensors
Align the photo eyes by clearing the beam, loosening each bracket wing nut, and tilting the sensors until both LEDs glow steady, then tightening them in place. The whole job takes about five minutes with no tools beyond a dry cloth. Follow the seven steps at the top of this page in order.
The principle is simple. The sending eye fires a beam straight across the opening, and the receiving eye must catch it dead on. If one sensor sags even a few degrees, the beam misses and the LED on the receiving eye goes out. You are aiming two flashlights at each other across the door, then locking them down once they meet. Work on one sensor at a time so you always have the other as a fixed reference point.
What the sensor LED colours mean
A steady LED means the beam is unbroken and the sensors are aligned. An LED that is off, dim, or flickering means the beam is broken, blocked, or misaligned, and the door will not close until it goes solid. Read both sensors together, because the door only closes when both are steady at the same time.
If the LED will not hold steady after you realign and clean, book a garage door sensor repair and we will sort it the same day.
Colours and behaviour vary slightly by brand, but the rule of “steady is good, blinking is bad” holds across all of them. The table below covers the major openers Ottawa homeowners run.
| Brand | Healthy (aligned) | Fault (broken beam) |
|---|---|---|
| LiftMaster | Sending green steady, receiving amber steady | Receiving amber off or flickering |
| Chamberlain | Sending green steady, receiving amber steady | Receiving amber off or flickering |
| Genie Safe-T-Beam | Sending and receiving blue steady | Receiving LED red, or blinking |
| Craftsman | Sending green steady, receiving amber steady | Receiving amber off or flickering |
LiftMaster and Chamberlain sensors
LiftMaster and Chamberlain share the same hardware, so their photo eyes behave identically. The sending eye glows steady green, and the receiving eye glows steady amber only when it sees the beam. If the amber LED is off or flickering, the receiving sensor is the one to adjust. A flickering amber is the classic signature of a bracket that has drooped a few degrees. Nudge it until the amber stops blinking and locks solid.
Genie Safe-T-Beam sensors
Genie calls its system Safe-T-Beam, and it reports through a coloured LED rather than the work light. A steady blue LED on both heads means aligned and clear. A red LED, or a blinking blue, means the beam is broken. Clear the path, wipe both lenses, and tilt the receiving head until the red turns back to steady blue. If a Genie keeps flashing red after that, the sensor head itself may have failed, which our Genie red light troubleshooting steps and a technician can confirm.
Loose wing nuts and drooping brackets
The most common reason sensors fall out of alignment is a loose plastic wing nut on the mounting bracket. Over months of vibration, the nut backs off, the sensor tips downward under its own weight, and the beam slowly drifts off target until the door stops closing on a clear day.
You will often see this after nothing changed in the garage. No one moved a box, nothing blocks the path, yet the door suddenly reverses every time. That is the drooped-bracket pattern. Snug the wing nut by hand, hold the sensor level with its partner across the opening, and confirm the LED stays steady as you tighten. If the bracket itself is bent, cracked, or rusted so it will not hold an angle, replace it. A bent L-bracket that will not stay put is a five-dollar part, but it has to be the right one for your opener. This drooping issue is also a frequent cause of a garage door that reverses just before it touches the floor.
Damaged or pinched sensor wiring
If both sensors are aimed correctly but an LED still will not light, the problem is the wiring, not the alignment. Each sensor runs a thin two-wire cable up to the motor head. A staple driven through the insulation, a nick from a shelf bracket, or a rodent-chewed spot breaks the circuit and kills the LED.
Follow each wire from the sensor up the wall and across to the opener, looking for a staple pinching the insulation, a crushed spot behind a shelf, or bare copper where the jacket has worn. A short or a break here produces the same blank LED as a misalignment, which is why people chase the aiming for an hour when the real fault is a staple. On LiftMaster and Chamberlain units this often shows as one or two blinks of the opener light. Do not splice over a damaged run with electrical tape and hope. A clean, properly connected sensor wire is part of the safety circuit, and a flaky connection makes the door reverse intermittently in a way that is far more dangerous than a steady fault.
When alignment doesn’t fix it
If you have cleared the beam, wiped the lenses, aimed both eyes until they sit level, tightened the brackets, and inspected the wiring, and an LED still will not glow steady, the sensor head or the opener logic board has failed. Forcing repeated close cycles at this point will not help and can wear the motor.
A sensor that takes a knock from a snow shovel or a bumped car can crack internally even when it looks fine. A power surge after an Ottawa ice storm can take out the receiving eye or the board that reads it. Both are diagnosis-and-replace jobs, not adjustments. HUSH Garage Door Service carries common LiftMaster, Chamberlain, and Genie sensor sets on the truck, so most replacements are same-day. Our factory-trained technician Omar tests the full beam circuit, the wiring run, and the logic board, then replaces only the part that failed. Book a garage door sensor repair and we will have the door closing safely again, often within the hour. For surge-damaged boards or an opener that blinks codes beyond the sensors, see our garage door opener and sensor repair service.
A diagnostic service call runs $35 to $85, and it is free when it leads to a repair over $250. We never charge overtime fees for evenings or weekends, and every repair is backed by our 90-day Done-Right Guarantee. Call HUSH at (613) 255-1968 or book online and we will come to you across Ottawa and Gatineau.